Add, Import, and Export Contacts
Instructions
The Contacts Page lets you manually add contacts and enter their information, import multiple contacts using Excel and vCard files, and export contact lists in .csv format.
- Click Menu in the top left corner > Contacts & Accounts
-
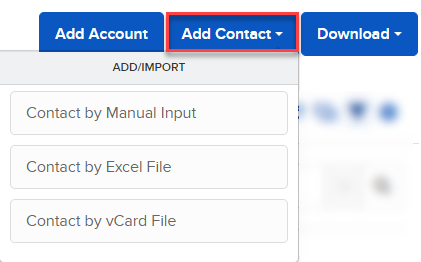
Select Add Contact.
- Choose Contact by Manual Input.
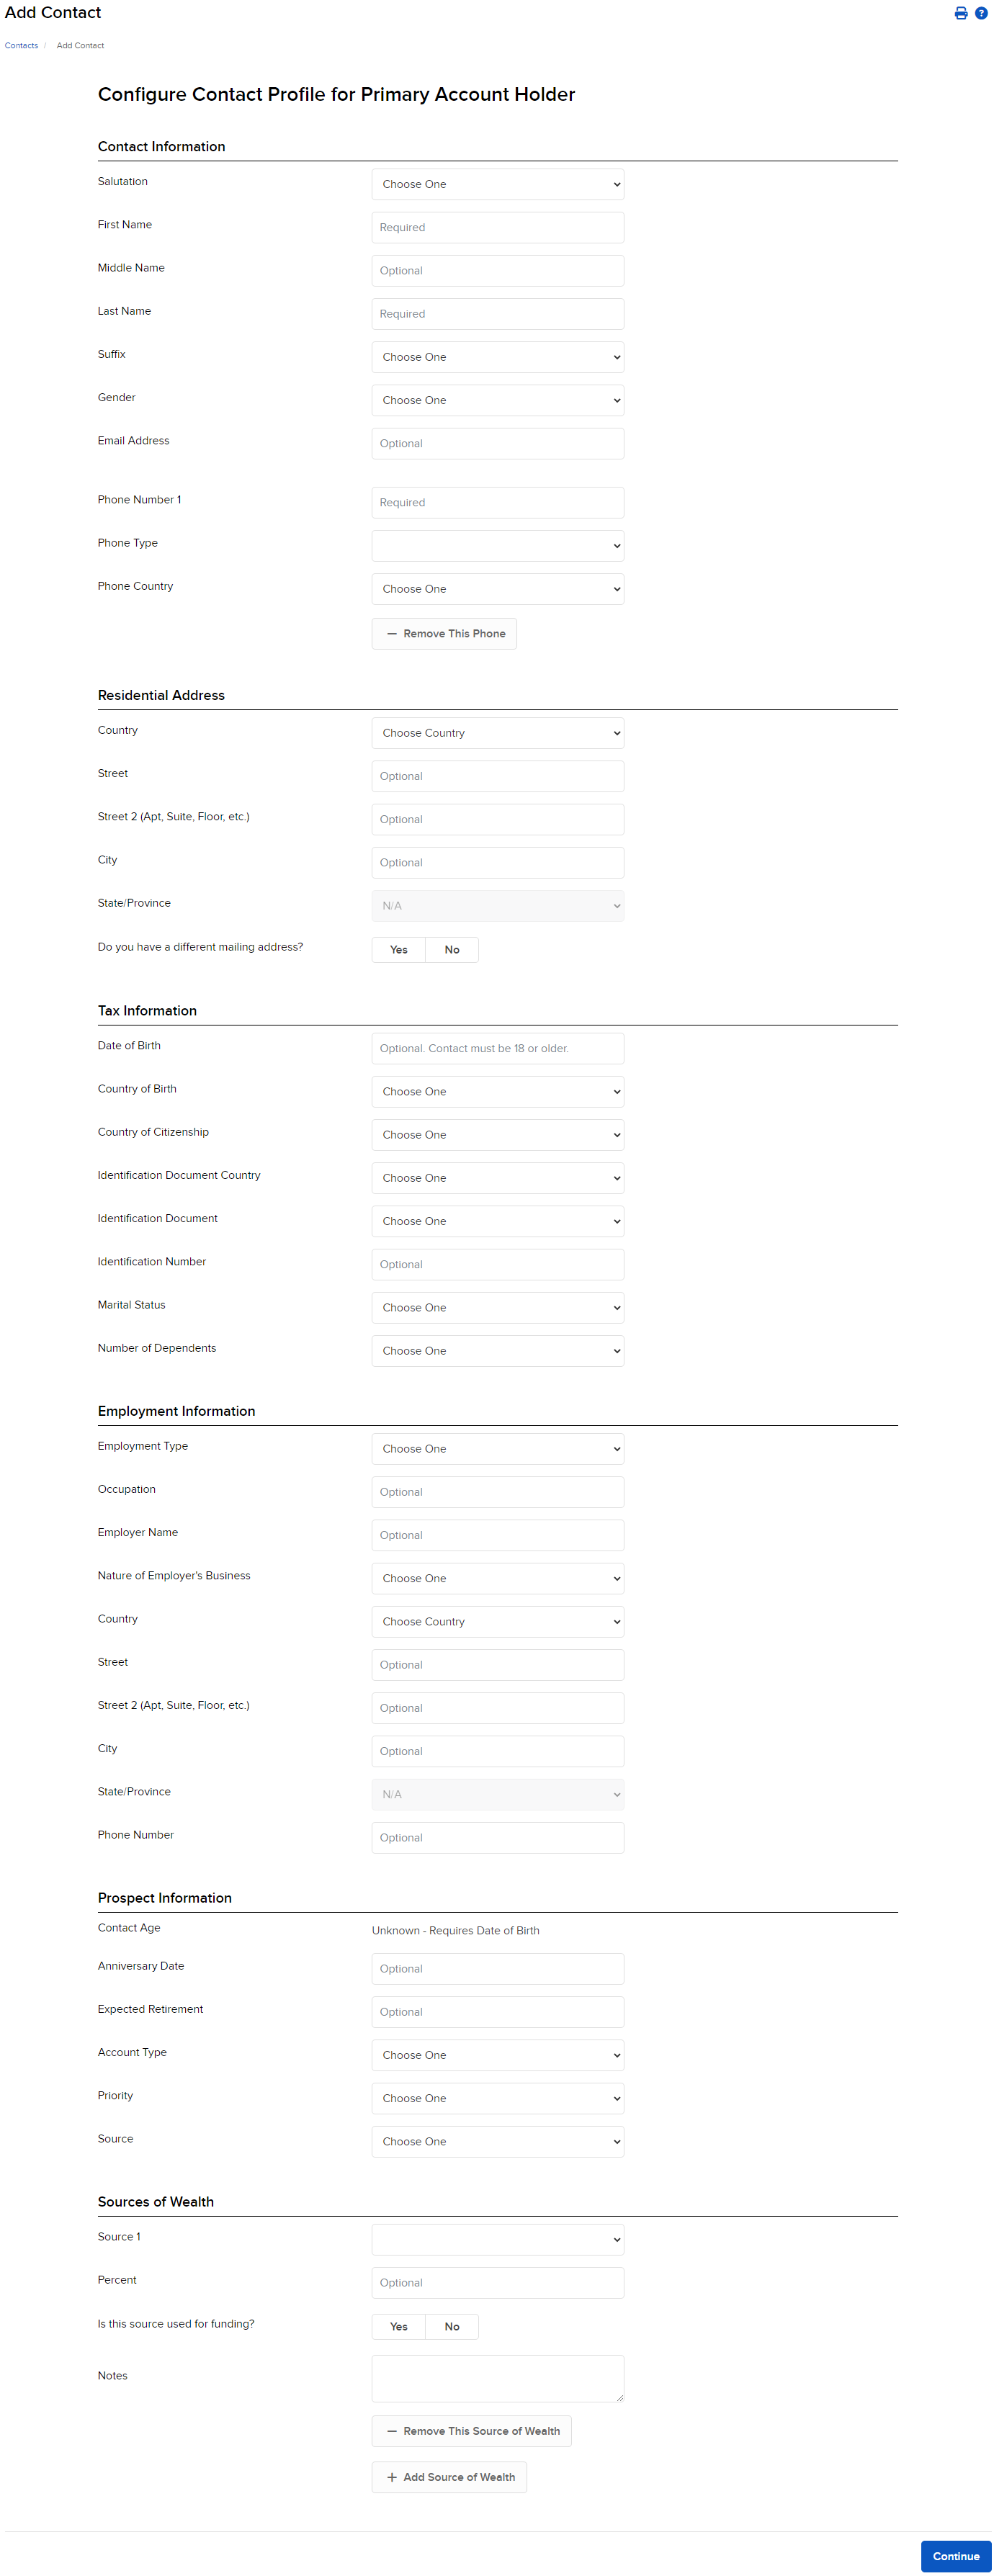
- Complete the form and click Continue.
- Review the information, then click Ok.
- To return to a previous step, click Back. To return to the Contacts Page click Contacts in the breadcrumbs menu in the top left corner.
Learn about Add, Import, and Export Contacts at IBKR Campus
- To create a Microsoft Excel list containing all information, be sure to include the following for each contact:
- Salutation (Mr., Mrs. or Ms.)
- First, middle and last name
- Gender (Female or Male)
- Date of birth (MM/DD/YYYY format)
- Marital Status (Unknown, Single, Married, Divorced, Widow)
- Number of Dependents
- Legal Residence, including Street (two lines, one for street address, the other for apartment number), City, Country, Country of Citizenship, State/Province, Zip/Postal Code.
- Contact Information, including Home, Work and Mobile Phone, Fax and Email
- Employment Information, including status (Employed, Unemployed, Retired or Self-Employed), Name and Business of Employer, Employer Work Phone and Employer Address (including Suite on the second address line)
On the contact file import screen, click the Download link to see a sample Excel file that includes all the information needed to create your own file in Microsoft Excel.
- Click Menu in the top left corner > Contacts & Accounts
- Select Add Contact.
- Choose one of the following:
- Contact by Excel File
- Contact by vCard File

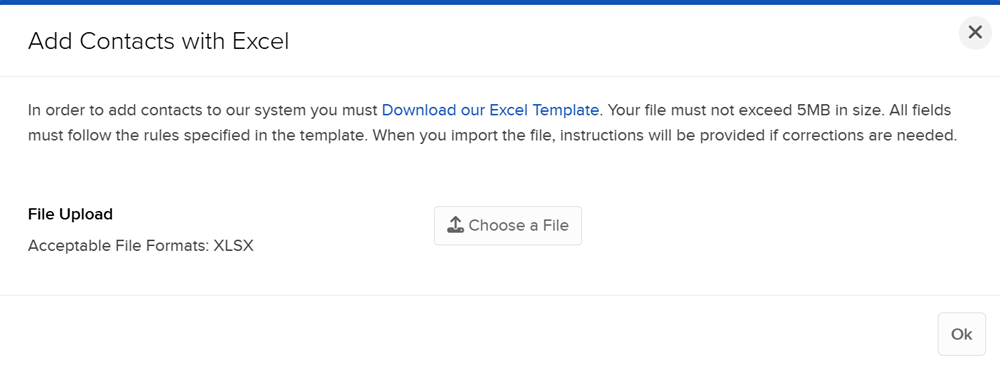
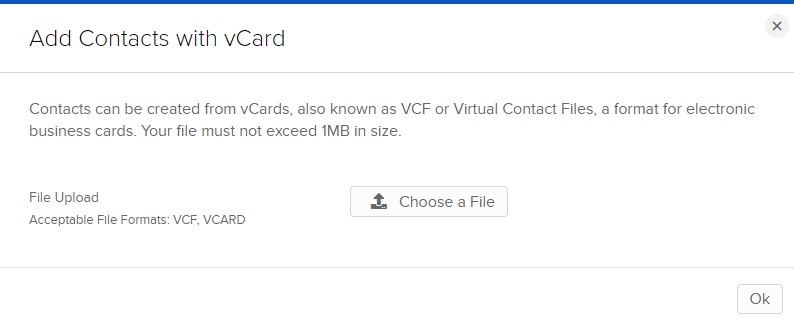
- If necessary, click the link to download the sample Excel file.
- Click the Choose A File button to locate and select the file on your computer.
- Click Upload File.
Your contacts will now be stored in Portal as individual records.
Learn about Add, Import, and Export Contacts at IBKR Campus.
- Click Menu in the top left corner > Contacts & Accounts
- Click the Download icon (
 ) in the top right corner.
- Click Contact Summary to CSV
- View contact information for entries in the CRM.
- If the contact has an account with IBKR, the file will include the status, IBKR account number, NAV, Daily PnL, and YTD PnL
- Open the file with Microsoft Excel or choose another program.
- Save the file
- Click OK
- Click Menu in the top left corner > Contacts & Accounts
-
Click the Download icon (
 ) in the top right corner.
- Click Contact Application Tasks to CSV
- View registration tasks for pending accounts.
- This includes status’ of documents to be sent (ie. Proof of ID, Proof of Address, EDD).
-
The export file will include two Sheets:
-
Online task to be completed: Status of application tasks by account (includes EDD tasks).
-
Documents to be sent: Status of documents that are required for approval (Includes POI and POA documents).
-
- Open the file with Microsoft Excel or choose another program.
- Save the file.
- Click OK
Note: This option is only available when the account is enrolled in the Secure Login System with a permanent device. Click here for more information.
- Click Menu in the top left corner > Contacts.
- Click the Download icon (
 ) in the top right corner.
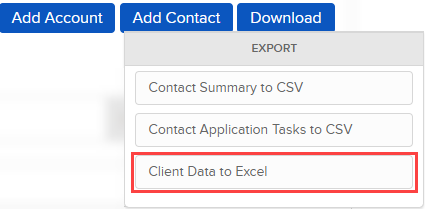
- Click Client Data to Excel.
- Name the file and then click Save.