Modifying a User Role
Instructions
You can modify any saved user role.
To do so, please take the steps outlined below.
Note: When you update an existing role, the changes are automatically applied to all users assigned to that role.
-
Click the User menu (head and shoulders icon on the top right corner) > Settings > User & Access Rights..
-
The Users & Access Rights screen opens. The Users panel shows all of the users you have added to your account along with their relationship to the primary account holder. The User Roles panel shows all user roles that you have created.
-
In the User Roles panel, click the Edit (pencil) icon for the user role you want to modify.

- The process of modifying a user role is divided into several screens. On each screen, grant access to functions by clicking the box next to each one. When you complete each screen, click Continue to advance to the next screen. If you want to make changes to a previous screen, click Back.
-
At the top of the screen, define the User Role Scope (Master Accounts Only, Master and All Sub Accounts, Master and Specific Sub Accounts, etc.)
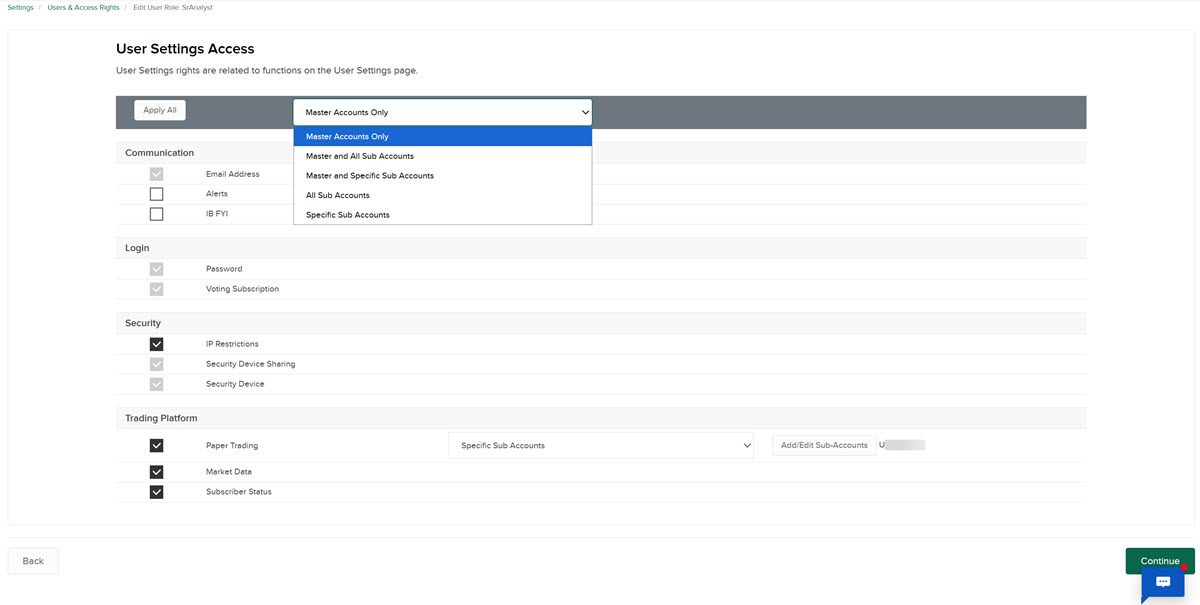
- The last screen in the process lets you review your changes. Click Continue if everything is correct. Click Back to make changes.
- If you have not yet enrolled in the Secure Login System for two-factor authentication, you will receive an email with a confirmation number. Enter the confirmation number sent to you via email, then click Continue. If you have not received a confirmation number, click Request Confirmation Number to have a new confirmation number sent to your email address.
- Click Ok to save your changes.